PC
XPC Shuttle SH67H3
3.3 Ghz Intel i5 Processor
8 GB G.Skill Memory/RAM
EVGA Geforce GT 630 Graphics Card
128GB SATA2 SSD Drive
Sound
Lepai LP-168HA 2.1 Amplifier (2x40w and 1x68W Subwoofer)
Two Rockford Fosgate R1525X2 Prime 5.25-Inch Full Range Coaxial Speakers
8" Kenwood Subwoofer
Monitors
28" Insignia (Backglass Monitor)
42" Insignia (Playfield Monitor)
Game Controller
VirtuaPin Digital Plunger Kit v2
Williams Plunger Mounting Plate (marcospecialties.com)
Misc
Ultimate Widebody Cabinet Builders Kit from VirtuaPin.net
Williams Widebody Cabinet (Twilight Zone)
Software
Hyperpin
Visual Pinball
UVP Backglass Server
VPinMame
To-Do List
Magna Save Buttons
Table Exit/Pause Buttons
Table Glass
Cooling Fans
Power Supply for Fans and Feedback
RGB Lightbar
Build Speaker and DMD Mount
Install Speakers and Amplifier
Plexiglass/Lexan For Monitor
Bezels to cover exposed monitor edges
Vishay DMD Kit
On/Off Solution (Using TV Remotes for Now, Need to relocate PC Power switch or use a smart power strip)
The Build
September 1, 2014
What I started with is an empty "Twilight Zone" cabinet. I liked this cabinet because it is a Williams "Widebody", and as a result lends itself a little bit more nicely to an LCD television. The cabinet isn't perfect, but I like that it is a little more authentic than a home built cabinet with decals. Still has the manufacturer labels and serials on it from Midway, etc.
September 21, 2014
The original subwoofer plate supported a smaller subwoofer. I'm using an older home theater sub that had an 8" kenwood sub in it. Since the plate screws were for a smaller sub I needed to move them out. There are pricier kits such as the ones from PinballPro that come with a new adapter plate, but that's just cheating. :)
Existing Speaker Adapter Plate
The original speaker plate was glued and nailed with tiny nails to keep in attached to the cabinet, a hammer and some very light prying pulled it right up. I marked the holes for the new speaker, and moved the mounting posts out.
Speaker Mounting Posts Moved out to the correct spacing.
I re-nailed the speaker plate to the cabinet with finishing nails and a brad nailer.
New Speaker Installed
September 22, 2014
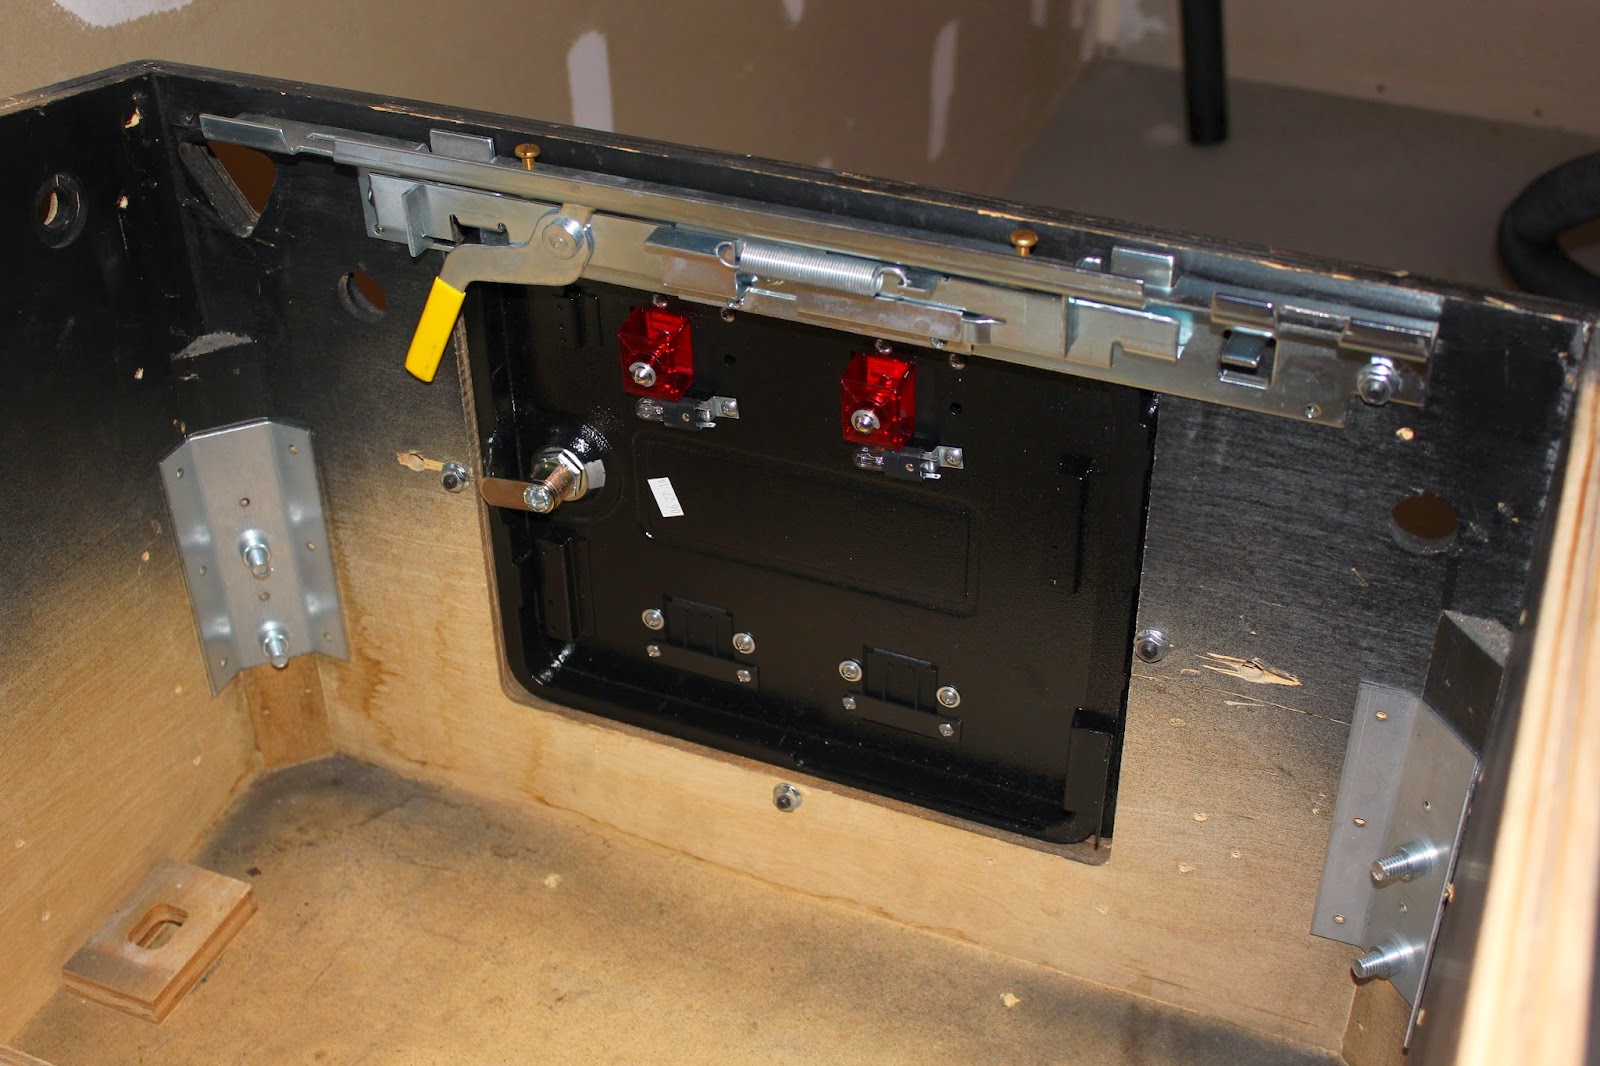
Cabinet Hardware Arrived! (Legs, Rails, Coin Door, Lockdown Bar, etc.) I ordered the Ultimate Cab Builders Kit (Widebody) from Virtuapin.net
http://virtuapin.net/index.php?main_page=product_info&cPath=3&products_id=35
The rear electronics are exposed, but the TV is about 2" slimmer now should make it an easy fit into the cabinet.
I removed all of the original ground straps that were stapled in, and pulled all the existing staples out.
Installing the Coin Door, Lockdown Bar, Legs and Side Rails.
September 23, 2014
The television playfield (42" Insignia LED TV) is a little bit too big for the cabinet, I could route the cabinet to make it a little bigger so that it will fit. But, even though I only needed about 1/2" of clearance to make it fit, I opted to go the decasing route, taking the plastic casing off of the TV.
TV Face Down, Ready to be De-Cased
The Carnage
The rear electronics are exposed, but the TV is about 2" slimmer now should make it an easy fit into the cabinet.
De-Cased Playfield TV On Saw Horses
I made a frame out of 2x2's (1 1/2"x 1 1/2"). The idea is to make something that allows the playfield (TV) to be lifted up on a pivot point, just like the original playfield was. I planned to use the mounting posts on the back of the television to secure it to the frame.
The backglass monitor is a 28" Insignia Monitor. This mounting isn't as "finished" as I would eventually like it to be. There are mounting posts on this monitor, that I used to secure it to a prototype frame made out of 2x2's (horizontally) and 2x4's (vertically) then screwed through the back of the backglass cabinet into the 2x4's. This looks fine, is sturdy and will be flush up against the lexan cover when it goes in. But, it's too permanent for my tastes and doesn't allow for easy maintenance if I needed to change a cable or something similar.
September 26, 2014
Cabinet buttons and plunger installed.
I used a 1/2" hole saw to cut the launch button hole. It has two plastic pins, to keep it from being rotated in the cabinet that I used a small drill bit to drill partially into the cabinet for them.
The plunger didn't come with a mounting plate. I imagine most cabinet builders don't drill out the plunger holes with the large triangle hole these machines have. Seems like 3 small holes for the bolts and 1 larger hole for the plunger would be more ideal. This did allow me to make a few adjustments (moving the plunger more to the left) to make room for the right buttons, and TV though. Not much, but just enough.
Frame Installed
I'm using the lockdown bar to hold the frame and tv up in the meantime, I'd like to put in a hydraulic support like a hatchback. There might be a simpler and cheaper alternative though.
Bolt through the cabinet's existing playfield mounting holes, I used flat washers on either side of the frame, and a 2nd bolt to act as a lock to keep the bolt loose enough to move but still stay in place. (I got this idea from a table router lock mechanism)
Angle brackets that the frame rests on.
First Screen Test


No comments:
Post a Comment